Stick welding aluminum is widely labeled by many welders as “mission impossible”, because the results often turn out to be messy and ugly. However, this is far from the truth.
This article will provide you the correct formula for your successful stick welding aluminum, by covering the following content:
- What stick rod should you employ for stick welding aluminum?
- What type of welders can be used for stick welding aluminum?
- Detailed insights about the five basic variables (CLAMS) in case of stick welding aluminum.
Your mission, should you choose to accept, is to follow me on this guide right away!
Important Note About Stick Welding Aluminum Materials
Before jumping into all the content related to stick welding aluminum, I want to make a small, yet important, note on materials about the process available on the Internet.
Upon writing this article, besides my own experience with the process, I did some research about it by searching for related materials on the Internet.
There are an awful lot of pages with misleading titles!
Despite the title indicating “Stick Welding Methods For Aluminum” or the like, their content is going in a completely different direction by discussing TIG and MIG processes.
Some pages even recommend the use of external shielding gas sources, such as Argon and Helium, for what they regard as “stick welding aluminum”.
If you have read my article on “Stick Welding”, you will know that this piece of information is incorrect.
Stick welding is famous for its portability, which means NO external shielding gas application is required. The shielding function is carried out by the flux coating of the stick rods.
Hence, I want to stress that there is a bunch of misinformation about stick welding aluminum. Choosing a reliable source for reference is extremely important, especially for beginners.
My page provides quality and correct content about not only stick welding aluminum, but also many other welding applications.
You can rest assured that I bring only the best information to all of you.
When Should Stick Welding Be Applied For Aluminum?
I will be honest with you that stick welding is applicable for aluminum.
However, it is my least favorite process to go with the metal, not to mention the huge amount of misleading content that I mentioned above.
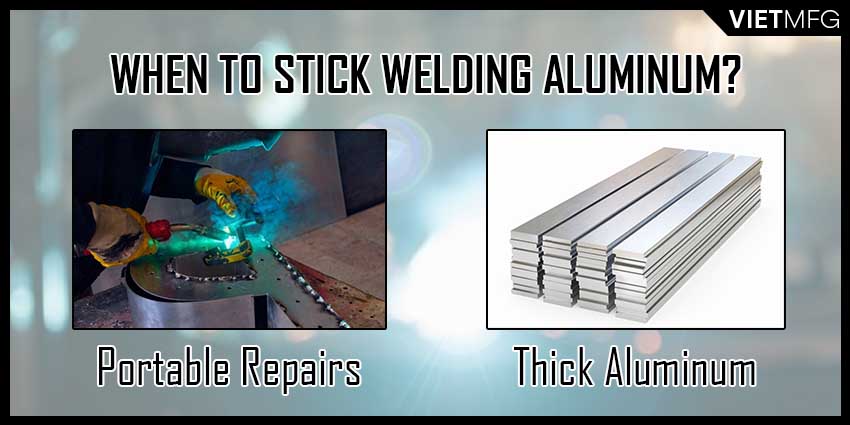
If you are having some portable repair projects involving aluminum, you can totally go with stick welding. Stick welding is also intended for dealing with thick sheets of aluminum, usually on 1/8” or greater thickness.
But, do not expect the process to be as cleanly as TIG and MIG.
Preparation For Your Stick Welding Aluminum
This article will guide you through successful stick welding aluminum from scratch. There are two main phases: preparation and laying the actual weld bead. We will start off with the most important section, which is to prepare everything carefully for your stick welding aluminum.
1. What Type Of Stick Rod Can Be Used For Stick Welding Aluminum?
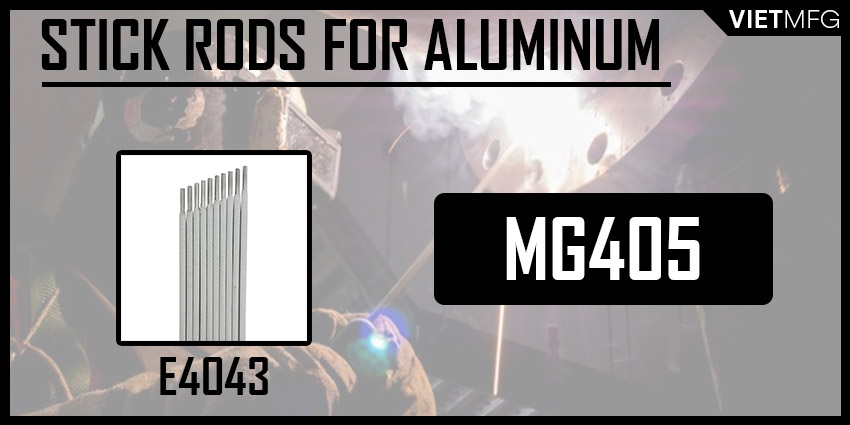
One of my recommendations is E4043. This is a general purpose electrode for stick welding aluminum alloys. This stick rod provides a stable arc and is capable of running at low temperatures with minimum spatter and fume production. With E4043, your aluminum welds will be dense and strong, free of porosity.
E4043 is ideal for maintenance stick welding applications of aluminum parts.
Another suggestion is the MG 405 electrode. This MG rod is well-suited for aluminum repair projects.
There are three popular rod sizes, which are 3/32”, 1/8″ and 5/32”. For beginners, starting with 3/32” stick rod is a good option.
In my article about Stick Welding Rod , I have mentioned that stick rods are hygroscopic. This means the rods rapidly absorb moisture in the atmosphere.
So, make sure to use the aluminum stick rod right away after you have taken it out of its package. However, once it draws moisture, do not put it back in the package or dry it with an electrode oven. The latter means only make the stick rods brittle and their powder falling off.
2. Which Welder Configuration Is Suitable For Stick Welding Aluminum?
You would like to go with stick welders for your stick welding aluminum.
The number one thing you would want to configure is set your welder to DCEP. Make sure the electrode holder (stinger) is connected to the positive terminal, while the work clamp is attached to the negative terminal. This current setting is suitable for almost all stick welding applications of aluminum.
Next, you can consider the following three options on your welders: hot start, arc force, and pulse.
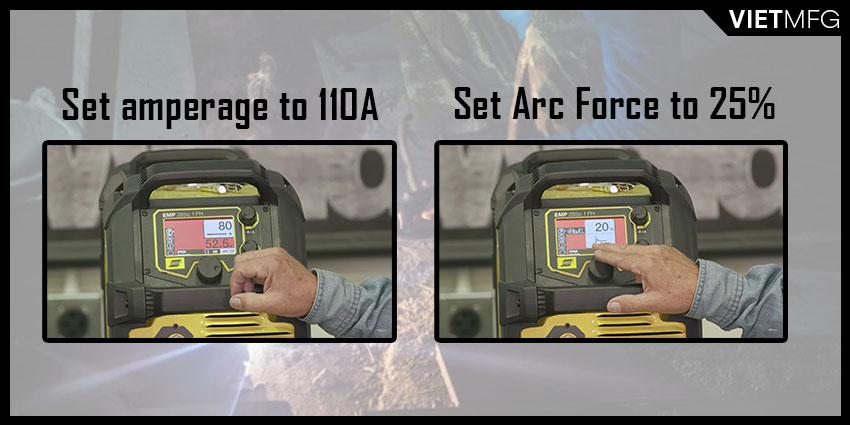
- Hot start: You can set it to 110 amperes. The hot start option allows you to light the arc more easily during your stick welding aluminum.
- Arc force: This option is similar to the hot start function mentioned above. However, its effect takes place during your welding process, not just the ignition part. During your stick welding, whenever your welding machine senses a short circuit, it will deliver a peak of current. It really helps stabilize the arc. Set it to 25%.
- Pulse: Pulse option means running 50 percent of time on peak amperage and 50 percent of the time on background amperage. What makes stick welding aluminum difficult is that the aluminum rods burn very fast. Pulse option slows down the rod consumption rate, while still provides nice ripples in the weld. For this parameter, set it around 2.0 Hz and 2.5 Hz. You can choose to start at 2.2 Hz.
In addition to the welder, get yourself one of those thumb controls and plug it right into the machine (mine was in the front).
This device helps you control the heat as you are stick welding. You can lower the temperature if there is enough heat in the aluminum workpiece, or if the fit-up condition is not perfect. You will not need to commit to a preset temperature on the welder.
The maximum amperage value for your thumb control should be around 110 percent of your amperage level. This amperage level depends on the type of aluminum rods that you use.
Usually, there is a recommended amperage range labeled on the rod’s package. Start from the middle value and work your way up.
For example, if you use MG 405 rod, its recommended range is 80 to 130 amperes. Set your amperage level to 100 amperes, and the maximum value for your thumb control at 110 amperes. And you are ready to lay some beads.
3. Cleaning Your Aluminum Workpiece
Use a stainless steel wire brush to clean the oxide layer on the surface of your aluminum workpiece.
Some welding suppliers also provide solutions for oxide removing tasks in the form of spray or squeeze bottles. These alternatives are best for hobbyists and local applications. However, when using these solutions, remember to handle carefully and rinse, dry the workpiece before stick welding.
Some people may advise you to use a grinding wheel (which is intended for carbon steel) on your aluminum workpiece. This yields no good result at all, as the wheel only serves to fold the oxide layer into the metal, and thus is not removed. So, stay away from grinding wheels!
4. Preheating Your Aluminum Workpiece
It is highly recommended to preheat your aluminum workpiece, especially on thicker gauges. This is similar to stick welding cast iron .
If you stick weld your aluminum cold, you will end up with a not-so-good result.
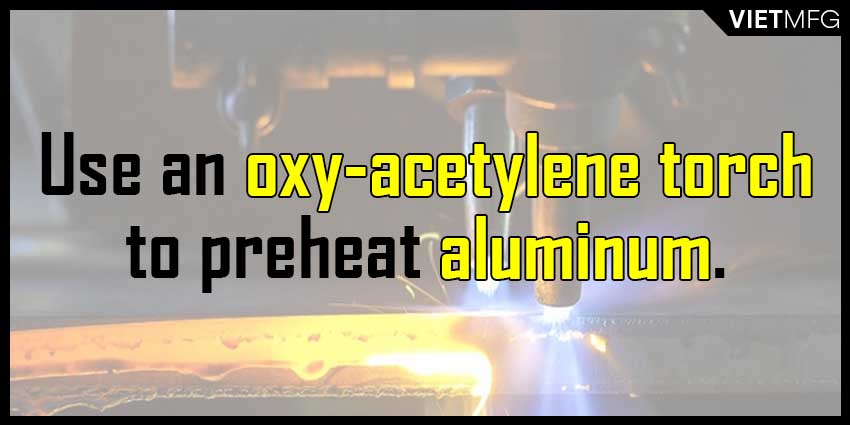
You can use an oxy-acetylene torch to preheat the metal.
Don’t expect this process to be nice and neat, as it is actually very gummy. Spatters are everywhere, creating a grey muck look on the metal. If this is your first try, you will find it to be extremely weird.
I want to show you a little tip here.
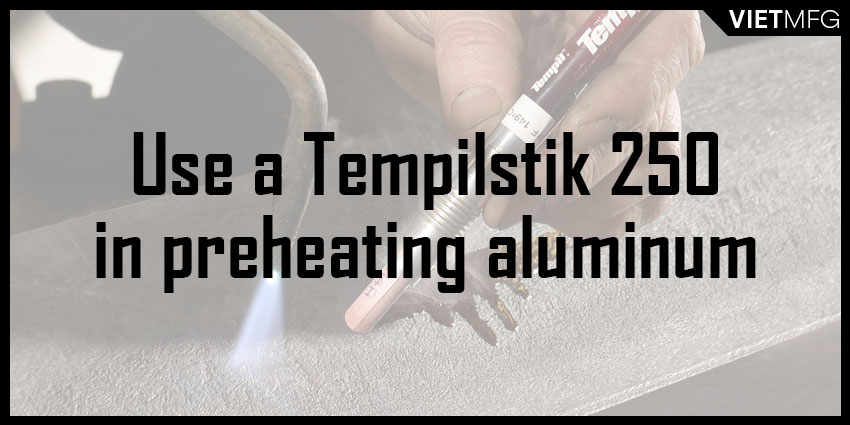
- Before preheating, get yourself a Tempilstik 250, which is a temperature indicating tool. The number 250 means Tempilstik can show whether the metal workpiece has reached 250 degrees Fahrenheit or not.
- Then, turn on the oxy-acetylene torch to heat the aluminum piece with carburizing flame. You will see there is a blackish color appearing on the heated area. It is like putting soot on your aluminum workpiece.
- Use the Tempilstik to know whether the temperature of your aluminum piece has reached 250 degrees Fahrenheit or not. If the temperature reaches the threshold, your Tempilstik will leave a mark on the workpiece.
- Upon seeing the mark, switch your oxy-acetylene torch from carburizing flame to neutral flame, and keep heating your aluminum workpiece up until that soot disappears.
Preheating this way will provide a smoother flow for your stick welding later on. Moreover, preheat is the key for easy slag removal after you finish stick welding on the aluminum pieces.
Important Stick Welding Aluminum Tips
1. During stick welding process
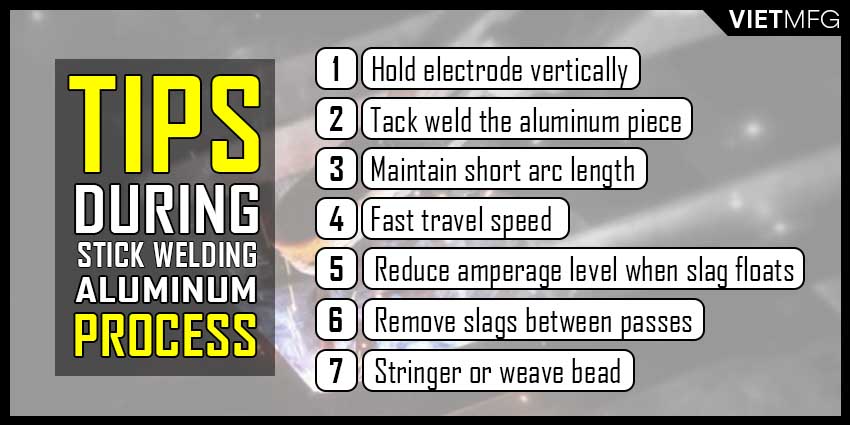
Below are some tips that you should pay attention to during your stick welding of aluminum workpiece. It might be difficult to keep track of them all. However, practice will gradually bring the best results to you. Here are the tips:
- Hold the electrode vertical to the aluminum workpiece with straight-end angle.
- Start by tacking the aluminum workpiece together. Don’t worry if the tack welds look like incomplete fusion. The incident is caused by the flux peeling off from the metal edges. Remove this flux before you start your stick welding.
- Try to maintain a short arc length. I really mean short! You can try to lift your hand up to see the consequences of long arc length. Any place where the arc length is not short enough, the metal will not go into the weld puddle, but fly out as large molten balls.
- Employ fast travel speed. Expect to move the stick rod really fast, much faster than in stick welding stainless steel . Rapid electrode movement is necessary for an even metal deposit. This fast movement also indicates a higher electrode consumption rate.
- Reduce the amperage level when you see the slag coating starts to float over the aluminum workpiece in an almost watery state. This happens when there is excessive heat introduced into the weld puddle.
- If you use multipass, make sure to remove slags between passes. Then, restart the arc on the existing weld deposit.
- Either a stringer bead or a weave bead is acceptable.
2. Before arc termination
Many novice welders would go all the way through the aluminum workpiece, and then switch the machine off, terminating the arc right away.
This is not a good practice, as it can create a crate in your weld.
So, before terminating the arc, always run the stinger backward a little bit, so that you can add extra filler metal at the terminating point.

3. Remove the slag layer
As mentioned above, with a proper preheat session, the slag can be removed very easily.
After welding, let the workpiece cool down a little bit.
After cooling down fully, to get rid of the slag, all you have to do is just scrape it. There is no need for tools like a chip hammer or the like. Whatever slag that cannot be released by scraping, use warm water and just wash it off.
In case where the slag layer is so difficult to remove (without preheating, wrong technique during stick welding), you can utilize a stainless steel wire brush to do the job. You can also use a solution of water and 10 percent sulfuric acid to remove this troublesome slag layer. Then, rinse your workpiece with clean, hot water.
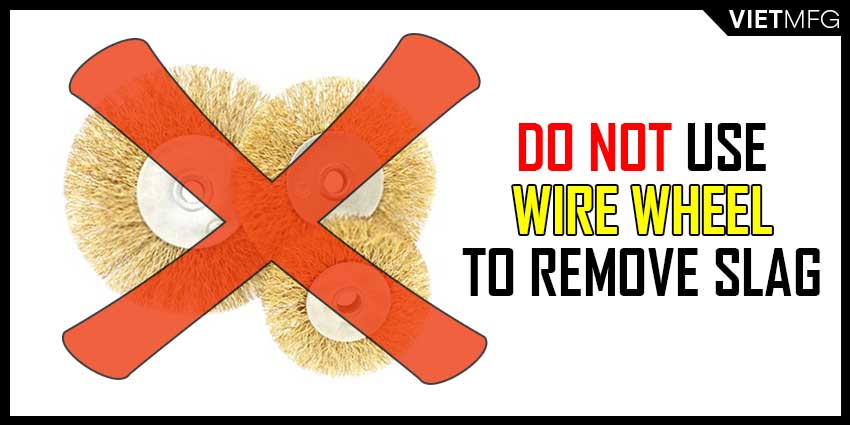
Now, what you should not do is grab a wire wheel to get rid of the slag. Aluminum is very soft. The wire wheel may damage it and rearrange the whole ripple pattern underneath.
Conclusion
We have just gone through every information there is about stick welding aluminum.
Stick welding may not be the optimal choice for aluminum, but it is still possible. The process works best where portability is required.
So, it is handy sometimes. Let’s practice it to be a more all-rounded welder.
Reference
- Aluminum Welding. Weld Guru. Retrieved December 04th 2020.
- Stick welding aluminum. Hilstrom. Retrieved December 04th 2020.
- How to Weld Aluminum with an ARC Welder. Sciencing. Retrieved December 04th 2020.
- Stick Welding Aluminum and a little known trick for Tig welding with aluminum stick rods. Welding Tips and Tricks. Retrieved December 04th 2020.
- Can I Weld Aluminum with a Stick Welder? – How To Proceed. Welding Troop. Retrieved December 04th 2020.
- Stick Welding Aluminum & Weird Trick. Youtube (weldingtipsandtricks channel). Retrieved December 05th 2020.
- Stick Welding Aluminum with an Everlast DC inverter PowerArc 300. Youtube (Everlast Welders channel). Retrieved December 05th 2020.
- Aluminum Stick Welding – a total success ! Youtube (ZILA channel). Retrieved December 05th 2020.
- Stick Welding Aluminum. Youtube (Weld.com channel). Retrieved December 05th 2020.


