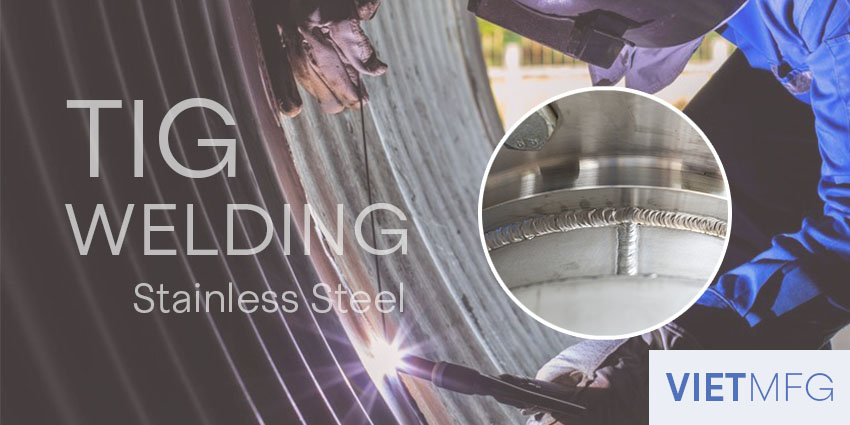
TIG Welding of Stainless Steel is classified as one of the most difficult applications to carry out, and thus catches the attention of many people in the industry.
If you are one of those looking for information about this topic, you have come to the right place.
In this article, we will show you:
- Why TIG welding of stainless steel is so challenging.
- What can we expect when combining TIG welding with stainless steel?
- 15 tips and tricks for TIG welding stainless steel.
Let’s waste no time and dive right in!
Why is TIG Welding of Stainless Steel so difficult?
TIG Welding of Stainless Steel is very challenging, because of three reasons:
- Number one, stainless steel is very good at retaining heat, and thus can warp (twisted out of shape) and burn through during the cooling process afterwards.
- Number two, stainless steel is very unforgiving, which means it can easily display every scratch mark that is accidentally left on it.
- Number three, to fully bring out the beauty inside stainless steel, huge effort in polishing is required.
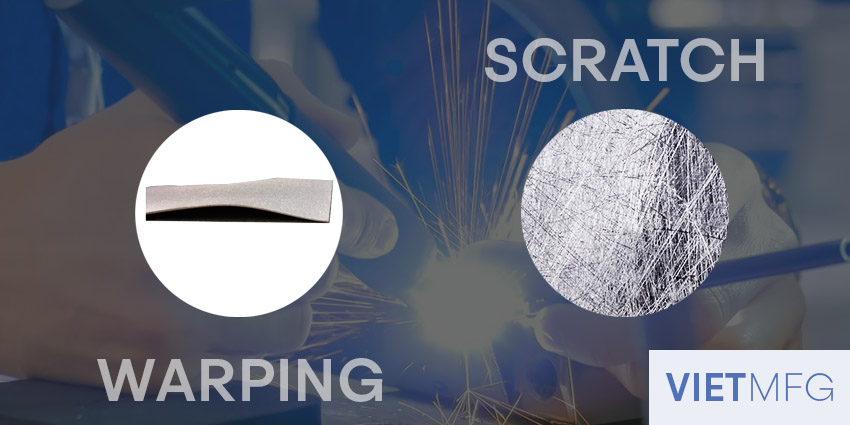
Therefore, when performing TIG Welding on Stainless Steel, fabricators need to take many precautions.
Fabricators also need to equip themselves with a few tips here and there for a better TIG weld result, which we will learn together later in the article.
In short, TIG Welding of Stainless Steel is not an easy game, and it favors the more experienced (and patient) welders only.
When does Stainless Steel need TIG Welding?
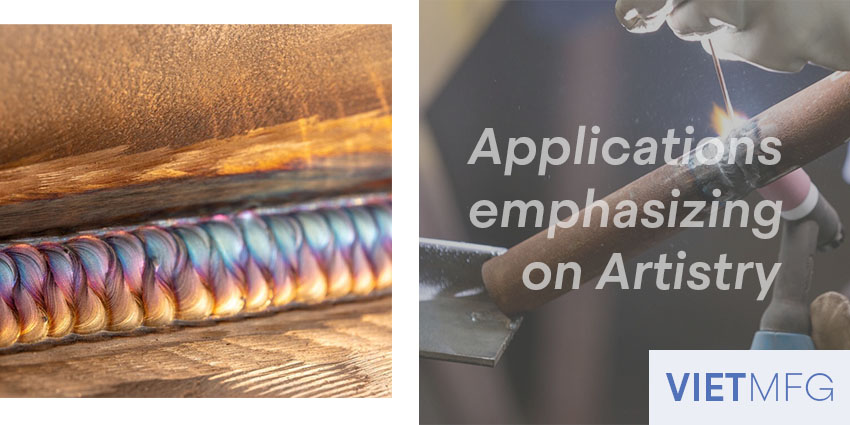
TIG welding should be an excellent choice for Stainless Steel when the project demands more on the artistry aspect.
As we all know, TIG welding is a favorite for its cleanliness and precision.
While stainless steel is a very unforgiving material, which means it requires a very clean and precise welding technique.
Thus, it is fair to say that TIG welding is a good match for stainless steel.
However, nothing is perfect!
TIG is among the slowest welding processes you will ever experience.
It is also costly, as only experienced welders with perfect technique can handle it efficiently.
Therefore, in certain cases where you need to get your project done quickly and cost-effectively, consider MIG welding, instead of TIG.
More information about MIG welding will be shown in another article.
15 Best Tips and Tricks for a high-quality TIG Welding of Stainless Steel
By now, I think we can all agree that TIG welding on Stainless Steel is a complicated process.
However, with only a few tips and carefulness, we can all turn such complex things into a much more easy experience.
Below are a few tips and tricks to turn your next TIG project into a masterpiece.
Tip #1: Clean your stainless pieces before performing TIG welding
Cleaning your stainless pieces is extremely important, as it is the first step that can affect the quality of your TIG welding process later on.
Cleaning here means you use chemicals to protect the chromium oxide layer on the stainless steel from contaminants, such as tape residue, glue, adhesive, oil, etc.
If that chromium oxide layer is damaged during the heating or cooling processes, your stainless piece can rust and cannot be welded anymore.
Most of the time, you can simply use solvent, acetone or other thinners to clean your stainless steel from contaminants, as they remove everything fast and evaporate fast as well.
Cleaning your metal pieces by using a wire brush is a good option.
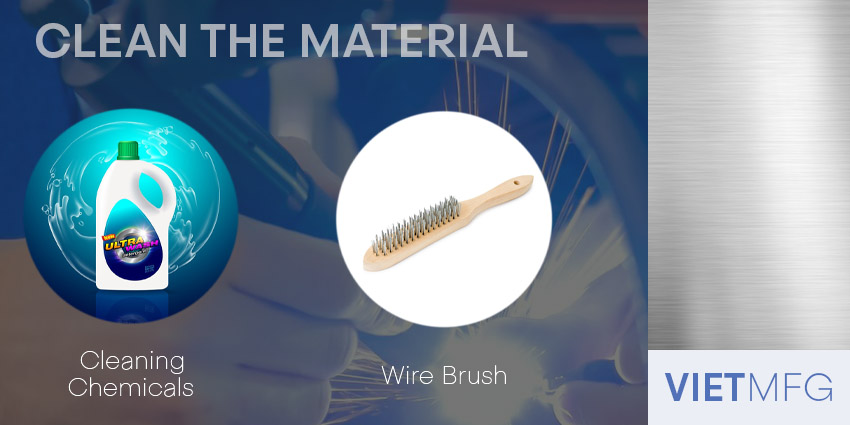
However, have a brand new wire brush (or other cleaning tools) dedicated for stainless steel only, as the material is very sensitive to carbon steel (at any amount).
If carbon steel comes into contact with stainless steel (even just a tiny amount), it can stick on your stainless piece and make it rust.
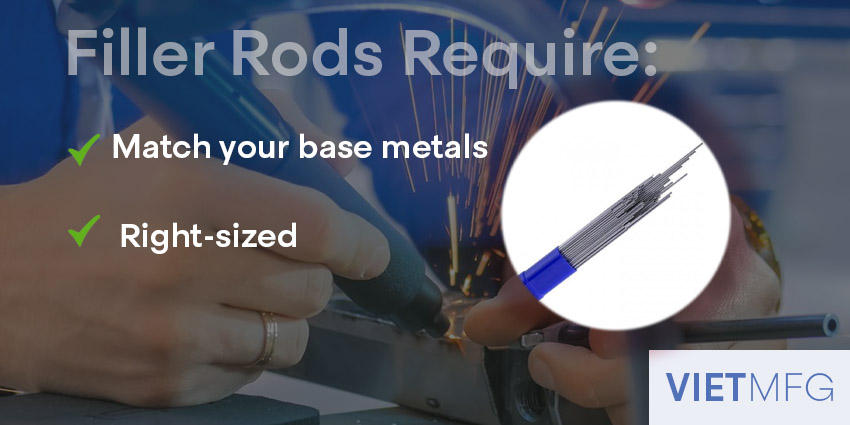
Tip #2: Good fit-up
Good fit-up means that the two stainless pieces you are trying to joint should match up closely with each other.
Good fit-up can reduce empty spaces or holes in between the two metal pieces, and thus reduce the amount of additional filler metals.
Without good fit-up, you have to add more filler rods into those gaps, and increase heat into the part.
Tip #3: Use a suitable filler rod
In certain cases, you will need the assistance of filler rod (filler wire) to fill in the gaps between your two metal pieces.
Therefore, selecting a proper filler rod for your application is very important.
Here are some aspects you should consider when choosing a filler rod:
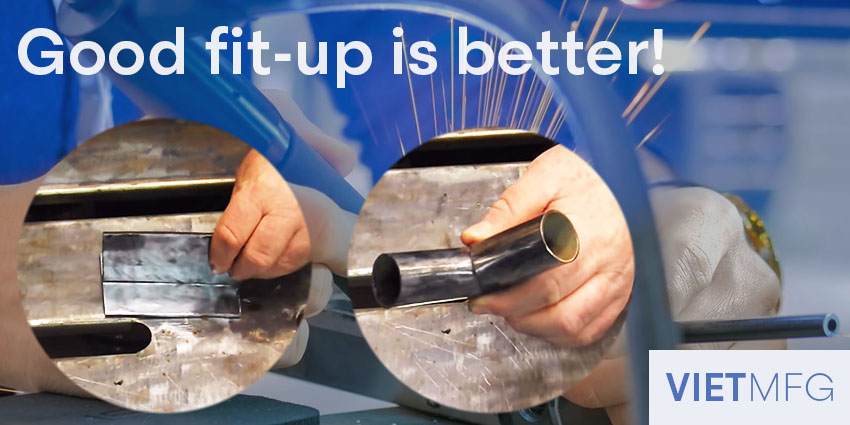
Use the right-sized filler rods
The diameter of the filler rod should be thinner than that of the stainless steel (your base metal).
Using unsuitable rods’ size can lead to weak and low-quality welds:
- A thick filler rod on low amperage settings could lead to ugly shapes, rather than a consistent fluid weld.
- On the contrary, a thin filler rod used on high amperage settings is effective. However, it is hard to keep track of the filler amount applied and could lead to weird-shaped welds.
One simple tip is to use a filler rod that is one size smaller than the one suitable for carbon steel.
Use filler rods that match your base metals
To produce a high-quality TIG weld, the filler metal must be chemically compatible with the base metal.
If the base metal is stainless 317L, then the filler rod should be stainless 317L as well.
Moreover, in terms of strength and quality, the rod’s material must be equal or better than the base metal, to create a stronger weld for your application.
Tip #4: Watch your heat!
Controlling the heat is crucial in TIG welding stainless steel, as the material is very good at retaining heat.
Overheat could result in problems, such as rust and warping.
An easy estimation is that you need 1 ampere current for every thousandth of an inch in your stainless steel’s thickness.
Compared with carbon steel, stainless steel requires only 2/3 the current amount.
Tip #5: Do not forget back-purging
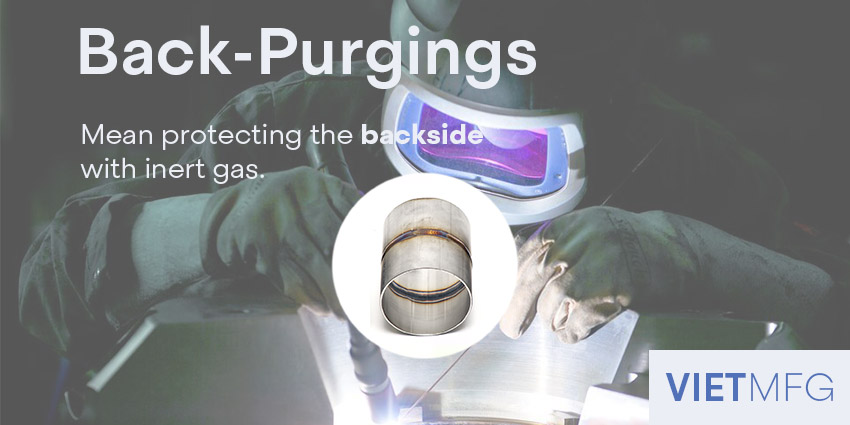
What is back-purging?
Back-purging is the operation of protecting the backside of your weld in an environment covered and shielded from air.
This can be achieved via the use of a specialized kit, or by covering the backside with aluminum wrap and a shielding gas line running into it.
With back-purging, your application can retain the color better and protect both sides of your joint.
How to back-purge your stainless steel?
Stainless steel loves argon!
Argon is the best choice for shielding gas used in TIG welding stainless steel.
If not properly shielded with argon, your metal piece will “sugar” – another word for oxidation or granulation.
Sugared welds cannot be used, as they contain deep pits and holes that can easily transform into cracks.
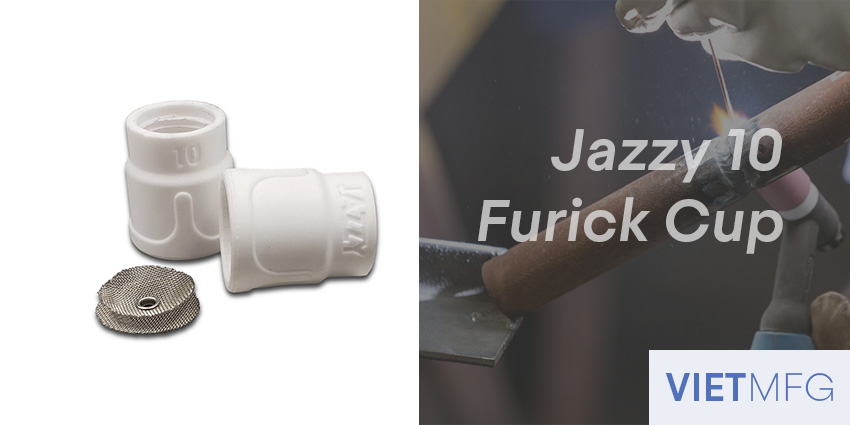
Tip #6: Use a gas lens
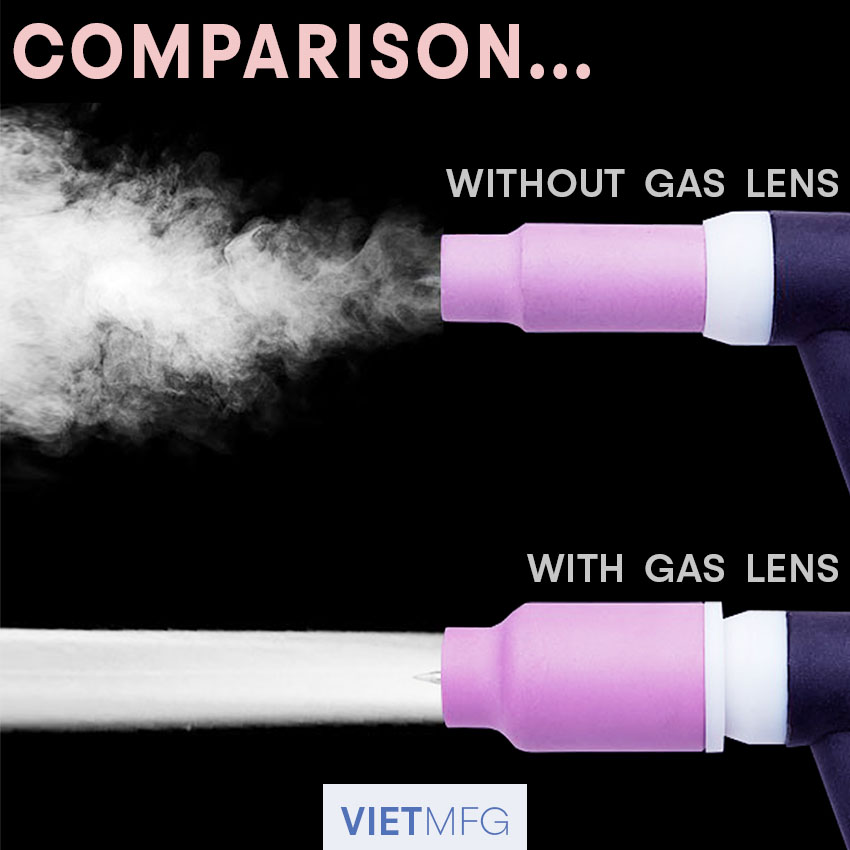
Using a gas lens can greatly enhance your experience when TIG welding stainless steel or any other materials.
Locating at the front of your TIG Torch, the gas lens helps distribute your shielding gas (mainly argon) over your weld area in a more even and coherent manner.
This is achieved by a screen layer located inside the gas lens.
Without a gas lens, there will be less gas coverage over your application, and make your TIG welding more turbulent.
A simple recommendation is to use the Jazzy 10 Furick Cup.
Tip #7: Choose the right tungsten electrode size
When we talk about TIG welding, we must talk about tungsten electrodes.
There are many types of tungsten electrodes (as we have discussed in another article), each of which can have different properties to enhance your welding experience.
However, that does not make much difference to your weld quality.
What we need to concern more is to choose the suitable tungsten size (diameter).
There are many variables affecting the selection of tungsten size, including polarity, base metal thickness, joint size, etc.
Below is a table that summarized the correct choice of tungsten diameter in relation with your amperage and base material thickness:
| Base Material Thickness (inch) | Tungsten Diameter (inch) | Amperage Range (A) |
| 1/16 | 1/16 | 80-120 |
| 3/32 | 1/16 | 100 – 130 |
| 1/8 | 3/32 | 120 – 150 |
| 3/16 | 3/32 | 150 – 250 |
| 1/4 | 1/8 | 200 – 350 |
| 1/2 | 1/8 | 235 – 375 |
Common sizes range from 3/32 to 1/4 of an inch.
Another tip is to use a tungsten electrode with larger diameter for the heavier stainless steel that you are welding.
However, it is best to refer to the recommendations of manufacturers for the proper tungsten sizes.
Tip #8: Use the correct tungsten electrode geometry
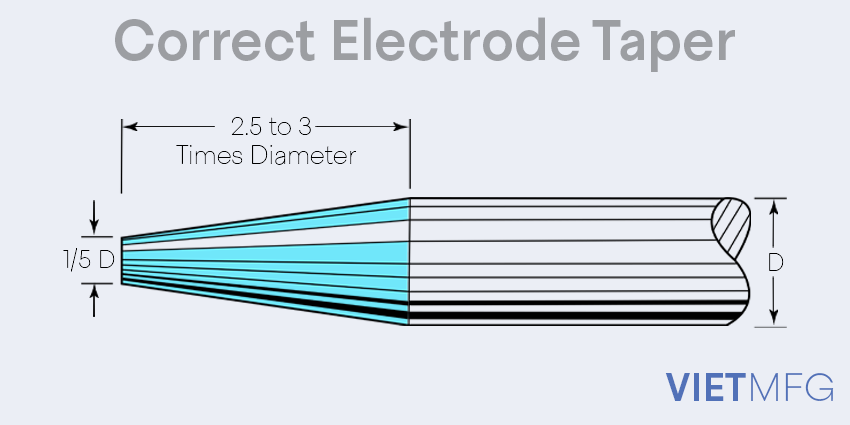
Tungsten electrode geometry refers to the tungsten’s shape, including three popular types: balled tip, sharp tip and truncated tip.
The tungsten electrode’s shape strongly affects the weld’s width and penetration, and onto the weld quality as well.
The sharper the tungsten shape, the wider and less focused the welding bead will be.
- A tungsten with sharp tip (with taper length from 2.5 to 3 times the electrode diameter) would create a wider arc, and a wider heat affected zone.
- A tungsten with blunt tip (balled tip or truncated tip) tends to provide a more focused arc with less flaring. This results in a deeper and thinner heat affected zone.
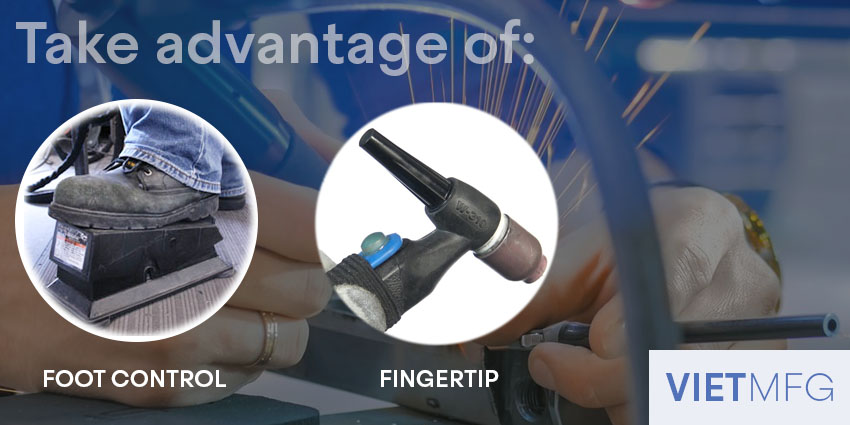
Tip #9: Take advantage of Foot control (or Fingertip)
A foot control (or fingertip) allows fabricators to control the amperage current more precisely, and thus manage the heat input.
Fingertip is especially useful when performing TIG welding under awkward positions (on ladders, etc).
Start with low amperage to allow time for the puddle formation.
After that, use foot control or fingertip to lower down 2 – 3 amperages, and add filler rod to the application.
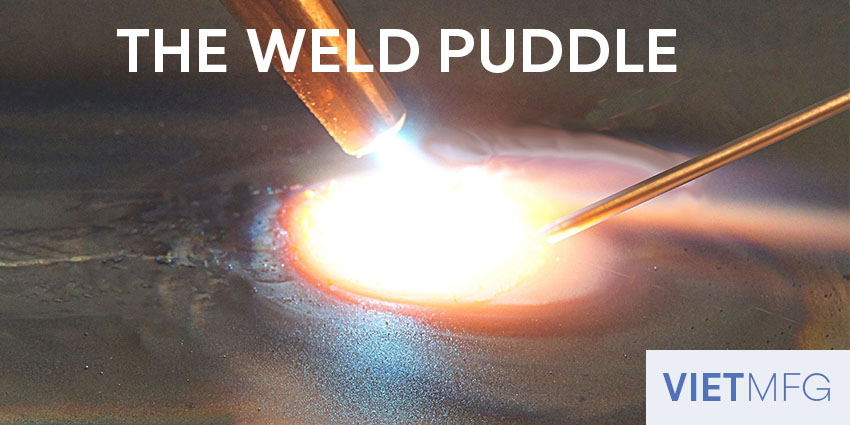
Tip #10: Keep the puddle size right!
Maintaining the right puddle size can prevent weld defects, such as craters.
Craters are unfilled parts of the weld, which can weaken your metal pieces.
Most of the time, the weld puddle should be the same as your stainless steel’s thickness.
During TIG welding, make sure to establish your puddle quickly (less than 2 seconds) and keep going until the puddle reaches the correct size.
If it grows too large, try lowering down the heat by using your foot control (or fingertip).
Tip #11: Gas flow and travel speed
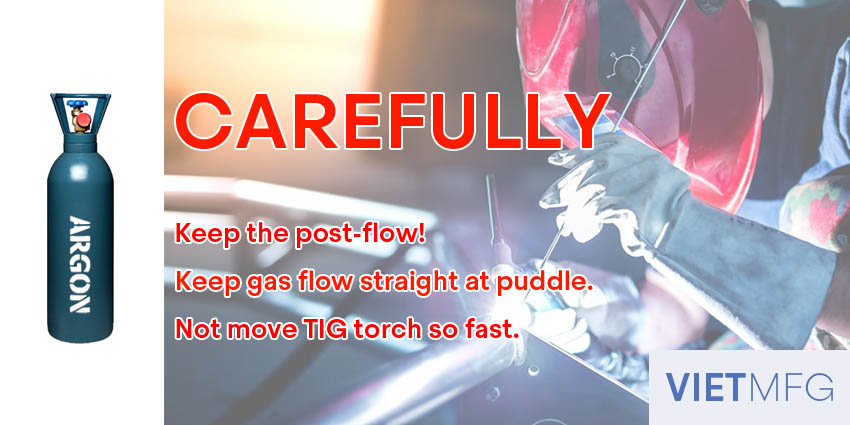
Direct your gas flow straight at the puddle until you see the orange color fade away.
Keep your motion going (do not stop immediately) as the post-flow helps cool down the puddle and the tungsten electrode.
However, be careful not to move the TIG torch so fast, because high travel speed can blow away your shielding gas from the tungsten.
Eventually, your tungsten will be contaminated and turn black.
Tip #12: Increase Gas Coverage
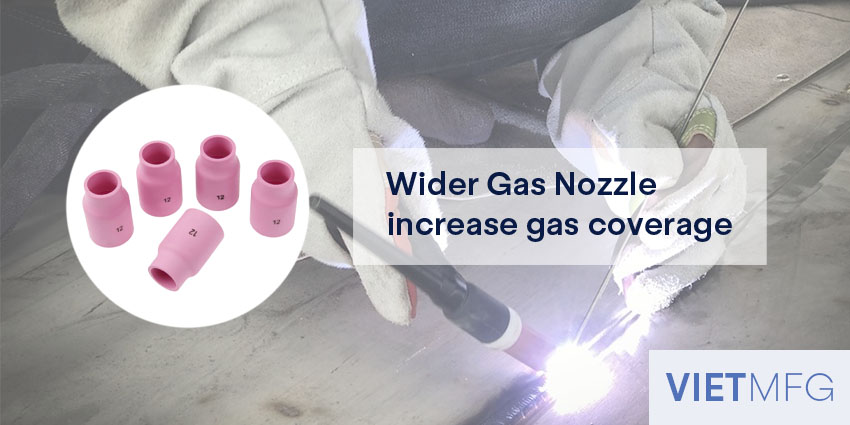
The more shielding gas you use, the cleaner your weld will become.
The lack of gas coverage would change the color of your stainless steel.
To increase a broader gas coverage, use a wider cup (size number 12 minimum) for your application, if your working space allows.
Under some circumstances where your area is too narrow, just do the best you can to increase your gas coverage.
Tip #13: Use high-speed pulsing for your TIG welding
What is pulsing option?
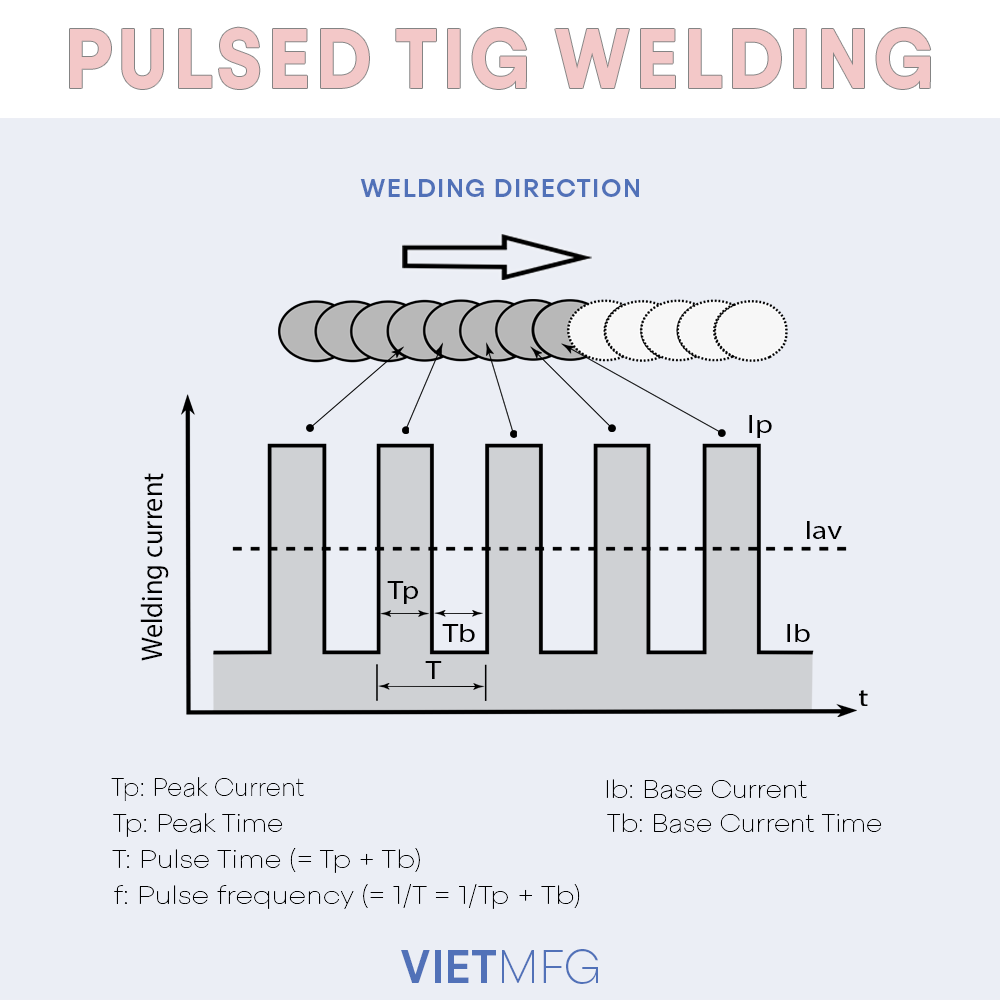
Pulsing (or pulsed current) is an option you can set for your TIG welder.
Simply speaking, pulsing is the constant changing of your current from the highest values to the lowest values within a determined amount of time.
In pulsing, there are 4 terms that need to be clearly understood:
- Peak amperage: is the normal amperage you usually use for TIG welding stainless steel without pulsing option.
- Background amperage: is the minimum amperage (usually set at 25 percent of peak amperage).
- Pulse frequency: is the number of times per second that your current values pulses from the peak amperage to the background amperage. It is measured as PPS (pulses per second).
- Peak time: is the proportion of time your current spends at peak amperage during a full pulse cycle.
Why should we use pulsing option for TIG welding stainless steel?
Using pulsed-current for TIG welding helps fabricators control the heat really well, because:
- On one hand, the peak amperage provides heat to the weld pieces, thus making good penetration.
- On the other hand, the background amperage maintains the arc and allows for cool-down time to prevent stainless steel from warping.
In short, pulsed-current not only pumps heat to the weld pieces, but also allows time for heat cool-down.
This is why pulsing option is very suitable for TIG welding stainless steel – a very heat sensitive material.
How to set the PPS value?
The higher the PPS value, the more concentrated the arc will become.
With stainless steel, use a range from 100 to 500 PPS.
Start at 100 PPS and slowly build up the value to create a stronger and more stable weld.
Tip #14: Set the correct current polarity
Another important thing to consider is the current polarity.
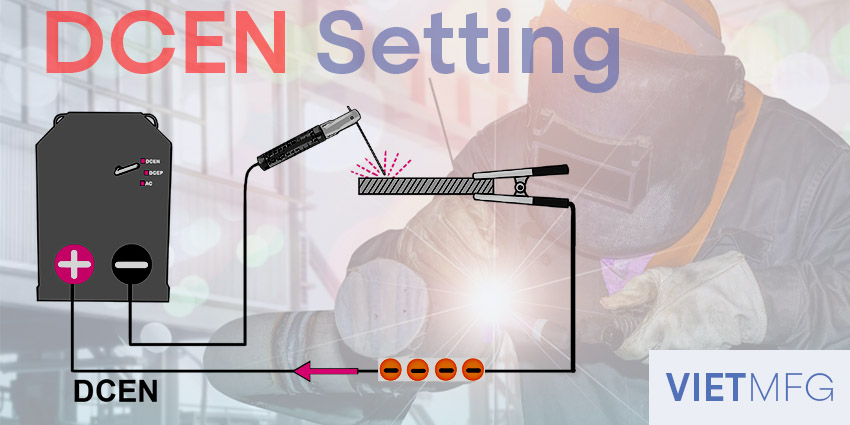
For TIG welding stainless steel, the correct polarity setting is DCEN – Direct Current Electrode Negative.
What is DCEN?
DCEN stands for Direct Current Electrode Negative, and is sometimes referred to as straight polarity.
In DCEN:
- The electrode (held by TIG torch) is connected to the negative terminal (as the name DCEN suggests).
- The metal piece is connected to the positive terminal.
- The current flows from negative to positive terminal, which means from the tungsten electrode to the metal piece.
Why should we use DCEN for TIG welding stainless steel?
DCEN is suitable for TIG welding stainless steel as the current flows directly from the electrode to the stainless steel being welded.
This allows for precise TIG welding and easy puddle formation.
However, as current flows to stainless steel under DCEN, heat will build up in stainless steel as well.
As the material is good at retaining heat, DCEN should be combined with pulsed-current to prevent overheat.
Tip #15: Let Your Project Cool
Stainless steel being overheat can change colors to red, blue and black, which is a sign of failure in terms of weld appearance.
Thus, allow time for your stainless steel to cool down.
Using pulsed-current is one solution.
Maintaining a suitable TIG torch’s travel speed is also important, because if your arc stays at one spot for too long, it could lead to overheating.

Conclusion
We hope those tips and tricks can help you understand more about TIG welding stainless steel.
If you follow strictly all the correct measures, you will find that TIG welding stainless steel is a really nice process.
There will be no shortcut when working with stainless steel, especially under TIG welding.
One last tip for all of our readers: PRACTICE MAKES THE BEST!
TIG welding stainless steel may be difficult, but it is a challenge worth taking.
Reference
- Welding Principles and Practices (5th Edition) – McGraw Hill Education. Edward R.Bohnart. [2017]
- The Pros, Cons and Best ways of welding stainless steel. AmericanTorchTip. Retrieved August 13th 2020.
- How To TIG Weld Stainless Steel (Some Tips and Tricks). WeldingCity. Retrieved August 13th 2020.
- Tips for TIG Welding on Stainless Steel. American Welding Society (AWS). Retrieved August 13th 2020.
- How to TIG Weld Stainless. Welding Tips and Tricks. Retrieved August 13th 2020.
- 8 Improvements to Your Stainless Steel TIG Welding. Welding Champs. Retrieved August 14th 2020.
- Stainless Steel Welding Applications. Tip TIG USA. Retrieved August 14th 2020.
- Welding Stainless Steels. Welding Tips and Tricks. Retrieved August 14th 2020.
- Welding Tips and Tricks Youtube Channel.


