Have you ever received a project that requires fixing a broken piece of cast iron?
Have you ever wondered if TIG Welding can help you with that project in any way?
If both answers are YES, you have reached the right page.
You will surely be amazed with all the advice provided in this article, which includes:
- How effective is TIG Welding for Cast Iron?
- Two methods of TIG Welding Cast Iron, together with step-by-step guides for each method.
Let’s get going!
How effective is TIG Welding for Cast Iron?
Let me get this straight!
TIG Welding for Cast Iron has ONLY 50 percent rate of success.
That means, even if you carry out a wonderful TIG welding session on the material, you still can fail the project.
What I mean by FAIL is that cracks (or porosity) could appear after you finish welding cast iron perfectly.
The reason for this failure chance comes from both sides:
- Cast Iron: the material is very sensitive to high temperatures (due to low carbon level of only 2 percent). Without gradual heating up (or cooling down), cast iron can easily be cracked.
- TIG Welding: the heat generated by the TIG torch is very focused and concentrated.
However, in most cases, TIG welding on cast iron is used for repairing broken cast iron parts, not in joining castings to other materials.
Thus, in such cases, sometimes a 50 percent success is more than enough for the customers.
Besides TIG Welding, Cast Iron can be treated with MIG or stick welding.
What should you prepare before TIG Welding Cast Iron?
1. Use THORIATED Tungsten Electrode for TIG Welding Cast Iron
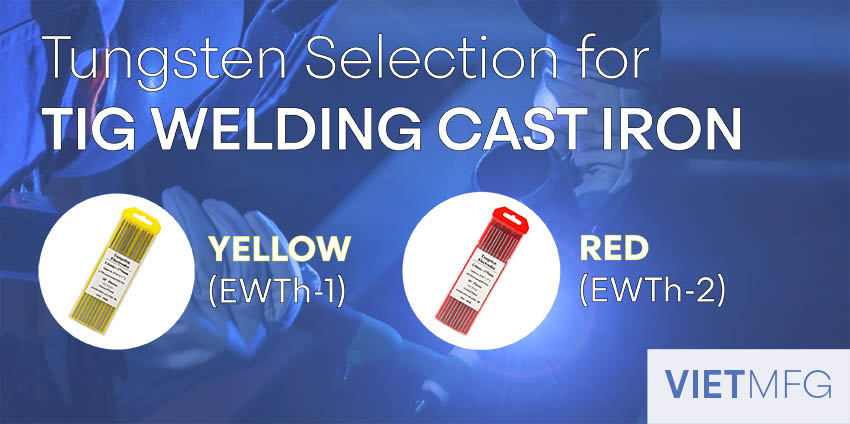
The favorite selection of electrodes for TIG Welding Cast Iron is THORIATED tungsten.
You have two options to choose from:
- YELLOW tungsten (EWTh-1; 1% thoriated).
- RED tungsten (EWTh-2; 2% thoriated).
Prepare the tungsten to have a sharp tip to increase arc control.
You can use a bench grinder to sharpen your tungsten.
Once your tungsten preparation is finished, put the tungsten electrode into the collet on your TIG Torch.
2. Choose Nickel Filler Wire for TIG Welding Cast Iron
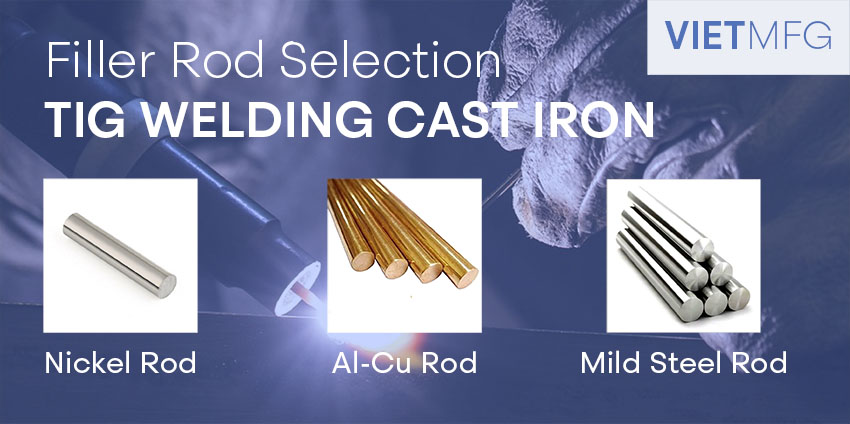
During your TIG welding session with Cast Iron, using a nickel rod is highly recommended.
There are two common types of nickel rods:
- 99% nickel rods (Ni99): is considered the premium type, which works perfectly on cast iron with low phosphorus contents.
- 55% nickel rods (Ni55): is a more economical version, which is often used for repairing thick pieces.
One reason to choose nickel rods is the material possesses similar properties as Cast Iron, especially the thermal expansion ability.
This ability greatly reduces cracking along the weld as heat is building up during the welding session.
Thus, nickel rods are preferred when you TIG Welding Cast Iron under high temperature environment.
However, they are among the most expensive equipment you can find out there.
Thus, if your application is not exposed to high temperatures, you can switch to more affordable options, such as aluminum-bronze (Al-Cu) or mild steel rods (ER6011, ER6013, ER7018).
3. Other tools for a successful TIG Welding Cast Iron
Please keep in mind that TIG Welding Cast Iron is very challenging, and requires many efforts in preparation before you can strike an arc.
Thus, besides core objects like tungsten electrode and filler wire, there are a couple of tools that will greatly assist you on your TIG Welding Cast Iron.
Firstly, it is the bench grinder. This is mentioned early on, as a gadget for tungsten preparation.
Secondly, put some wire brushes in your workplace. They are great assistants in cleaning the work surface, which contributes to a more successful weld.
Thirdly, buy some acetones or other cleaning solvents. These chemicals help wipe away grease, oil, paint and other contaminants on both your work surface and your filler rods.
Fourthly, prepare a propane torch. This is very important in preheating cast iron, which is rumored to be a must-do thing in the preheat method of TIG Welding Cast Iron.
Lastly, get yourself a ball peen hammer. This hammer is used to peen the weld and prevent any crackings from happening. It is not required to select a big size one, as you only need some gentle taps on the workpiece.
4. Pump Pure Argon over your Cast Iron TIG Welding
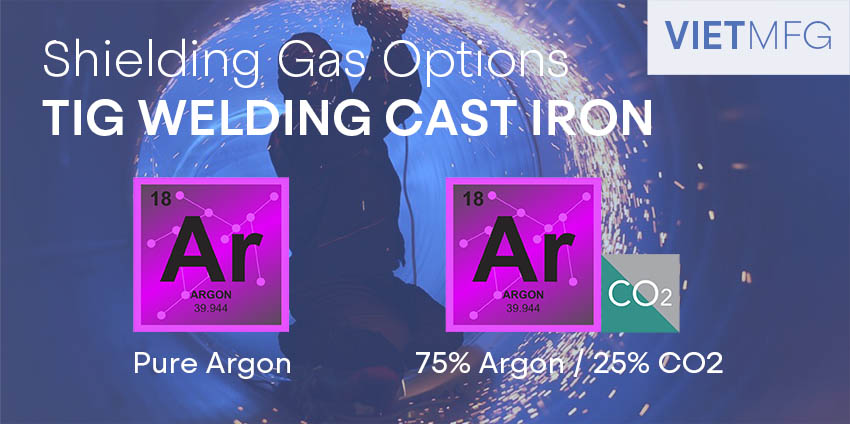
For TIG Welding Cast Iron, the best TIG gas choice is simply Pure Argon.
Another popular option is a mixture of 75% Argon/ 25% CO2.
Optimal gas flow should be around 15 to 20 cfh.
- Too LITTLE shielding gas will oxidize your workpiece and reduce its strength.
- Too MUCH shielding gas does nothing harmful to your weld. But it is wasteful, as Argon is very expensive.
Remember, similar to TIG welding stainless steel and other materials, let’s apply this process in open spaces with a good ventilation system.
Do NOT perform Cast Iron TIG Welding in tightly enclosed spaces.
Otherwise, Argon and CO2 would build up and suffocate you.
If there is too much Argon and CO2 buildup, you will pass out and death will soon follow.

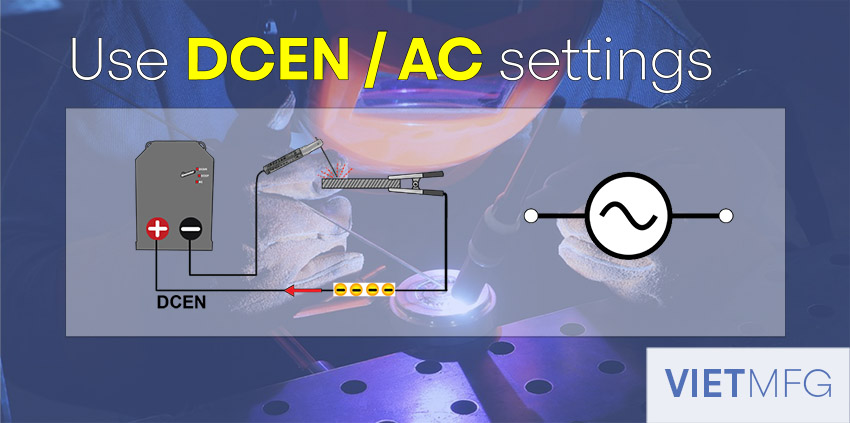
5. TIG Welding Cast Iron on DCEN or AC setting
DCEN (Direct Current Electrode Negative) setting is preferable when TIG Welding Cast Iron when you use nickel filler rod.
However, if you have a budget constraint and can only get Aluminum-bronze rods, then AC setting is the more suitable choice in this case because of two reasons:
- Firstly, AC tends to go with aluminum, as the setting provides a cleaning action, which can help you achieve a cleaner puddle.
- Secondly, using AC on TIG Welding Cast Iron allows less penetration. Thus, you can totally get a fluid and wet puddle on the base metal without inputting too much amperage for the aluminum guy.
Two Common Techniques for TIG Welding Cast Iron
To TIG Weld Cast Iron, there are two popular ways: Preheat method, and Cold Weld method.

METHOD NO.1: Preheat
What is Preheat all about?
Preheat means heating up your cast iron piece before actually TIG welding it.
Preheat method also comes with a post-heat afterward.
Contrary to preheat, post-heat means to cool down your cast iron pieces gradually.
Step-by-step guide for Preheat Method
Step #1: Set up your TIG Torch and TIG Welder
As we have discussed earlier in this article, for TIG welding cast iron, you will need some setup like this:
- Tungsten Electrode: prepare a 1/16’’ thoriated tungsten with a pointed tip.
- Filler wire: use a nickel rod.
- Shielding gas: select pure argon, and equip your TIG torch with a gas lens.
- TIG Welder: set the current setting to DCEN, with around 100 amperes. Be cautious about the heat you set to prevent cracking. Only increase your amperage if the previous settings cannot melt your filler rod.
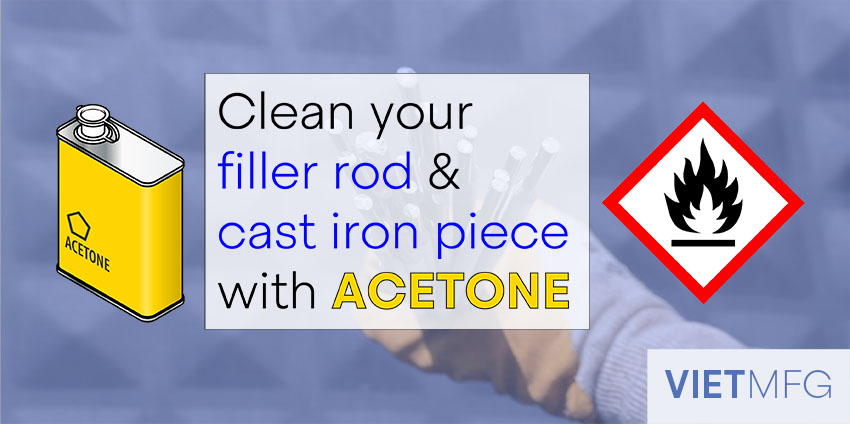
Step #2: Clean you filler wire and cast iron piece with Acetone
For all TIG Welding sessions, cleaning is the most important criteria.
The same rule applies to your filler wire and your cast iron piece.
It is highly suggested to do a 2-step cleaning process:
- Firstly, clean with wire brush. This is applicable only with your workpiece. Scrub it hard to get rid of all dirt and contaminants from the workpiece surface.
- Secondly, clean with acetone. This is applied for both workpiece and filler rod. Simply wipe your workpiece and filler rod with this cleaning chemical. After that, clear the acetone away from your TIG welding area, as the chemical is very flammable.
If after this 2-step cleaning process, you find some long crack lines, reach out to an angle grinder. Use a thin blade on your angle grinder to cut out the material on the edges of the crack.
Step #3: Equip yourself with safety tools
For TIG Welding or any welding operation, keeping yourself safe is the top priority.
Prepare certain safety gears, such as: welding mask, gloves and a long-sleeved jacket.
These safety measures will save you from the extreme heat generated from TIG Welding Cast Iron, and protect your eyes from shining sparks.
Step #4: Set up your Welds
Once you have put on safety gears, you need to set up your welds to ensure good fit-up condition.
Then, put a clamp on the workpiece, or your welding table to complete the circuit, so that you can strike an arc.
Check all the connections among your equipment, like the clamp, or the gas hoses and electrical hoses, etc.
Ensure everything is ready, and you are good to go.
Step #5: Preheat your cast iron piece
This is the main part that makes Preheat different from the Cold Weld method.
Simply use a torch blower to slowly heat up the cast iron.
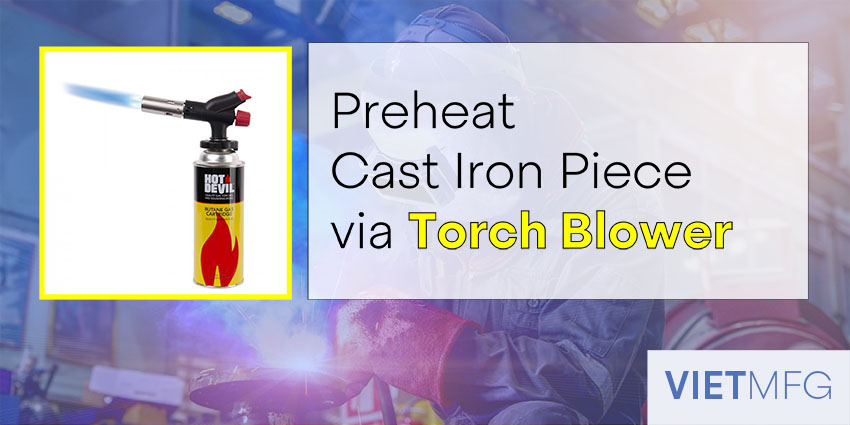
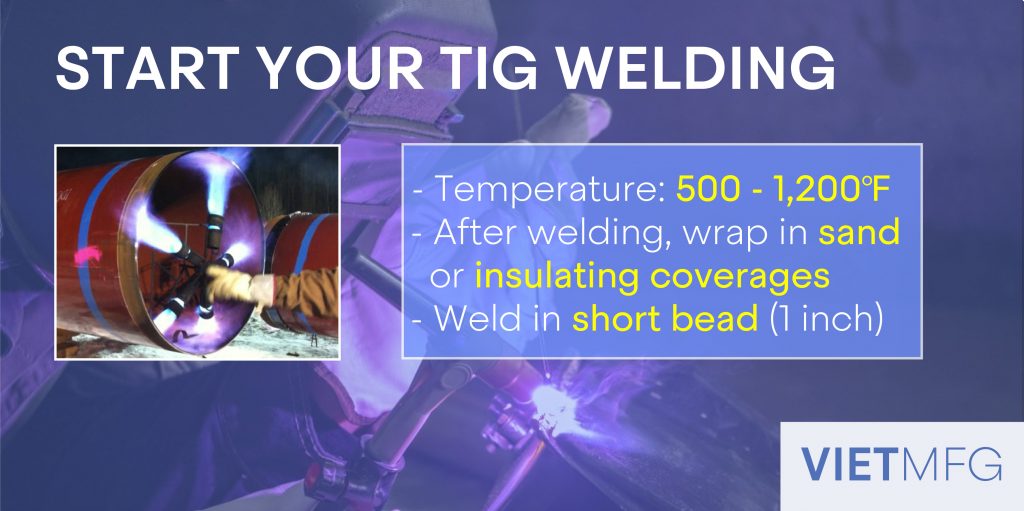
It is recommended to heat the whole cast iron piece together slowly, with temperature ranging from 500 to 1,200 Fahrenheit degrees.
However, do NOT go beyond 1,400 Fahrenheit degrees.
Once you finished preheating, carry out your TIG Welding in Step #6 right away.
If you wait around for too long, your cast iron piece will start to cool off.
In that situation, heat it again with your propane torch before you decide to weld.
Step #6: Start your TIG welding session
After preheating, you can start your TIG welding session with low amperage to reduce stresses on the weld.
As cast iron is very sensitive to temperatures, it is recommended to TIG weld your piece in small sections.
There are 3 tips I want to emphasize here for TIG Welding Cast Iron.
Firstly, skipping around while you weld.
- For each section, run a bead weld of about 1 inch, then stop.
- Skip around, and start TIG welding your cast iron piece at another position which is away from your first section.
- This little technique of skipping around can help reduce heat concentration at one spot for too long, and thus reduce the chances of cracking and defects.
Secondly, while you weld, do the dab technique.
- The dab technique requires you to keep pushing the filler wire into the arc and then withdraw it back, then advance it into the arc again and repeat this many times.
- As you do it, the rod is gradually melted and consumed by the weld.
Lastly, pay attention to the termination point during your weld.
- Remember to add a little extra filler each time you terminate your arc to skip to another spot.
- This little trick prevents cracking very efficiently.
Watch out for the temperature of your cast iron piece while you weld.
If some parts cool off, you need to heat the whole piece again before welding.
Step #7: Peen your welds
Use your ball peen hammer to protect your welds from cracks by tapping slightly onto the workpiece.
The tapping will flatten your weld beads.
Remember to tap while your cast iron piece is still hot.
That whole process is called “peening”.
What peening does is spreading your weld out.
It helps relieve stress around your weld beads and prevents cracking really efficiently.
Step #8: Let your cast iron piece cool off slowly
The final stage of the Preheat method is to let your cast iron piece cool off slowly.
This can be achieved by one of the two following ways:
- Put your cast iron piece on top of a wood fire oven for gradual cool down. This may take from several minutes to hours, depending on the thickness and shape of your piece.
- Simply wrap the cast iron piece in insulating coverages or in sand to enhance the slowly cooling rate.
Do NOT use water or compressed air to speed up the cool-down process to avoid cracking caused by abrupt temperature change.
METHOD NO.2: Cold Weld
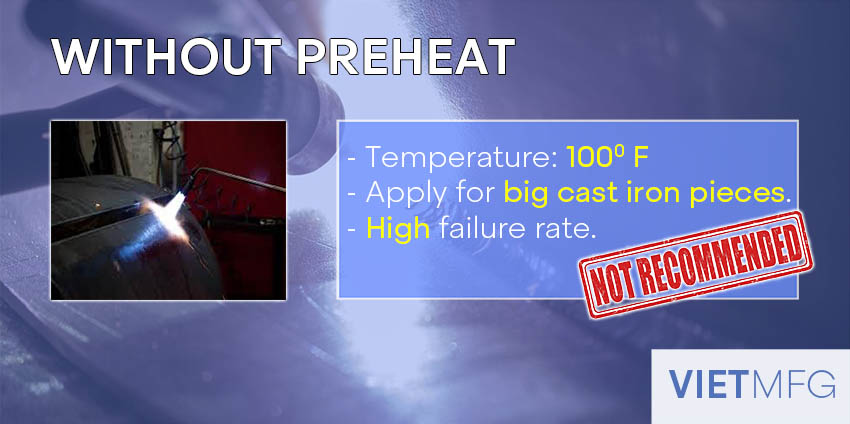
Cold Weld is another method for welding cast iron without using any preheat.
This method is possible with the TIG process only, with the temperature being raised up to around 100 Fahrenheit degrees.
However, it is NOT recommended by professional TIG welders, as the method has a higher failure risk.
Cold Weld can be achieved with similar preparation like Preheat method (tungsten, filler rod, shielding gas, current setting), but with low amperage for minimal heat.
It is usually applied for big cast iron pieces.
The process for Cold Weld method is similar to that of Preheat, except for Step #3.
Conclusion
That’s it!
This article has gone through certain key elements in TIG welding cast iron.
We hope you have collected the information that you came here for.
And of course, you can feel totally confident ahead of your cast iron projects.
Besides this article, we also have other writings about other aspects of TIG Welding.
Do not miss out on those other articles on this site.
Reference
- Welding Principles and Practices (5th Edition) – McGraw Hill Education. Edward R.Bohnart. [2017]
- Guidelines for Welding Cast Iron. Lincoln Electric. Retrieved August 23rd 2020.
- Welding Cast Iron: The How-To Guide. Machines4u. Retrieved August 23rd 2020.
- Welding Cast Iron. The Welders Warehouse. Retrieved August 23rd 2020.
- TIG Welding Cast Iron to 409 Stainless Steel Tubing. Welding Tips and Tricks. Retrieved August 23rd 2020.


