Although MIG welding is a very easy-to-learn process, if not done properly, you can still experience bad MIG welds.
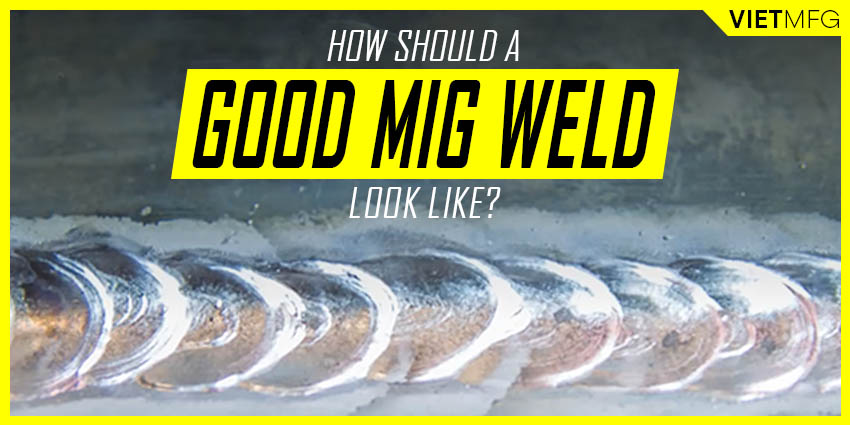
So, how should a Good MIG Weld look like ?
In this article, we will cover just that, which includes:
- Four main MIG welding defects that you could experience.
- A visual comparison between a Good MIG Weld and a Bad MIG Weld.
- Tips and Tricks on how to enhance the appearance of your MIG welds.
Without further waiting, let’s start!
FOUR main MIG Welding defects
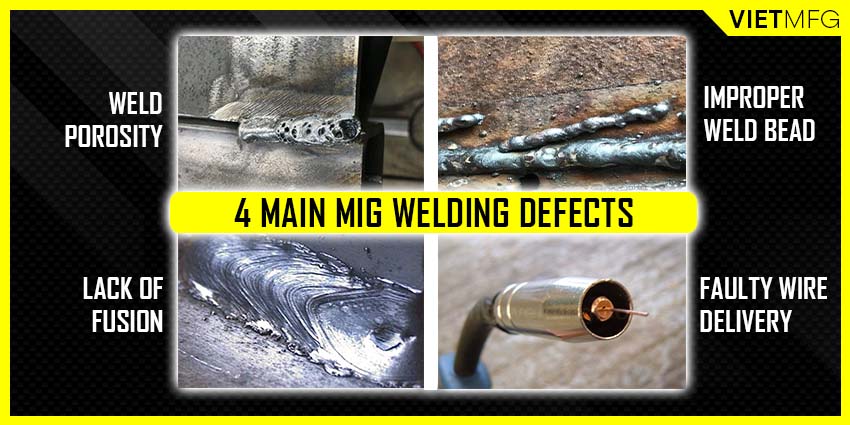
Basically, MIG Welding defects can be classified into 4 following groups:
- Weld Porosity
- Improper Weld Bead Pattern.
- Lack of Fusion.
- Faulty Wire Delivery.
1. Weld Porosity
Porosity occurs when the gases (usually nitrogen, hydrogen or oxygen) are frozen and trapped inside the weld puddle as it solidifies (cools down).
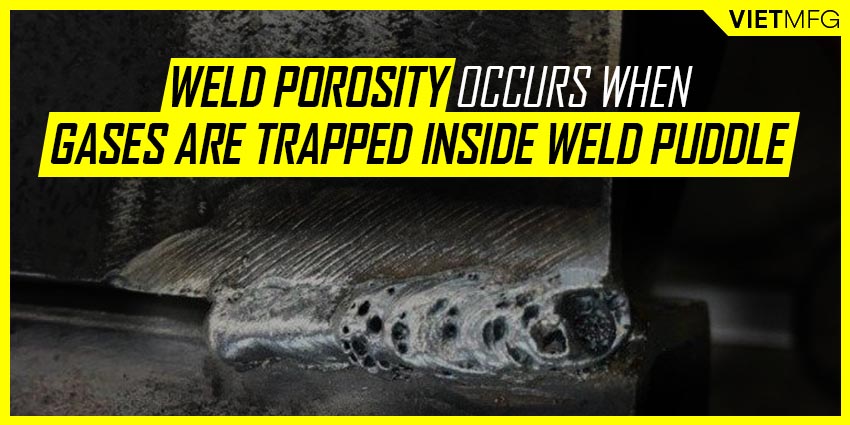
It can take many different forms, like pores, wormhole or crater pipes.
As little as 1% of air particles in the shielding gas can cause porosity.
There are 3 reasons that lead to weld porosity.
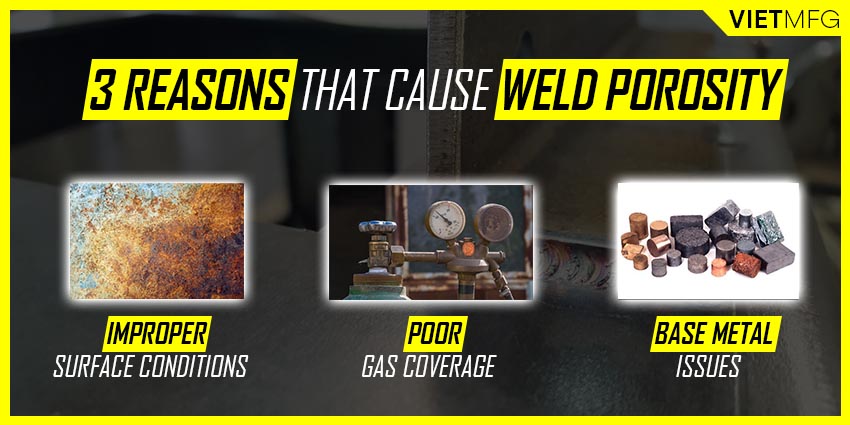
Improper Surface Conditions
Improper condition means the surface is not balanced or contains contaminants.
This is by far the most common reason leading to porosity.
If there is rust, paint or oil remaining on the workpiece surface, it will prevent proper penetration into the weld puddle and cause porosity.
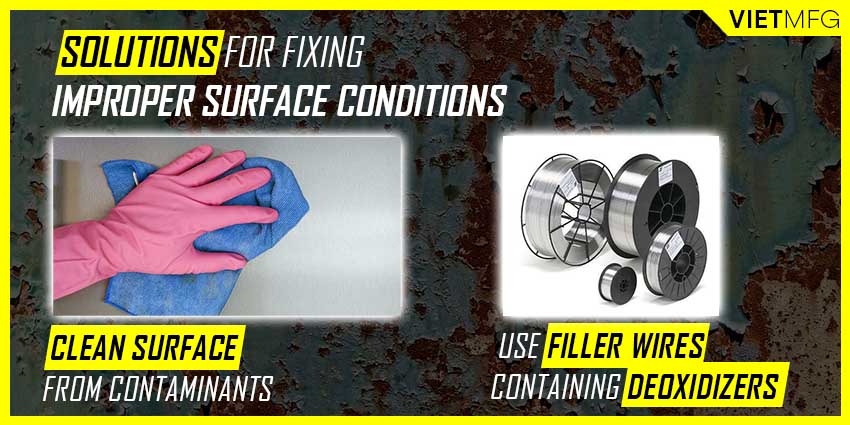
To prevent this porosity cause, make sure to keep your workpiece surface clean and free from contaminants.
Moreover, it is recommended to use filler wires containing some deoxidizers such as aluminum, zirconium or silicon.
Poor Shielding Gas Coverage
If for some reasons, the airflow is too strong, it could disperse and blow your MIG shielding gas away from the weld puddle, allowing airborne pollutants to enter the puddle.
This will surely lead to weld porosity.
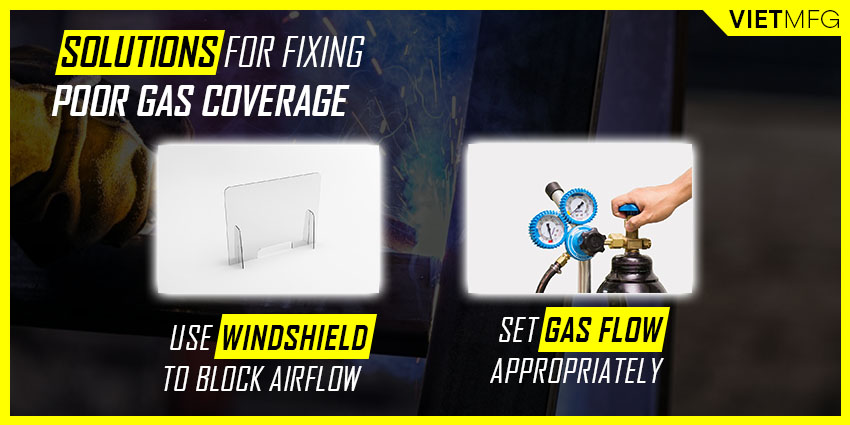
To prevent this cause, simply use windshield in your welding area to block any airflow.
Also, set your gas flow appropriately, based on your wire size, modes of metal transfer, amperage input.
Check out MIG Welding: Setting the Correct Parameters for more details on the adjustment.
Issues related to base metal properties
Another reason for weld porosity is the issues related to base metal properties.
For example, if your base metal contains too much sulfur content, it can cause porosity.
Unlike the first two reasons, there is no remedy for preventing this reason.
The only thing you can do is to select another base metal that has the right kind of properties.
2. Improper Weld Bead Pattern
Improper Weld Bead Pattern relates to the shape of the bead, the penetration level, or the overall appearance of your weld bead.
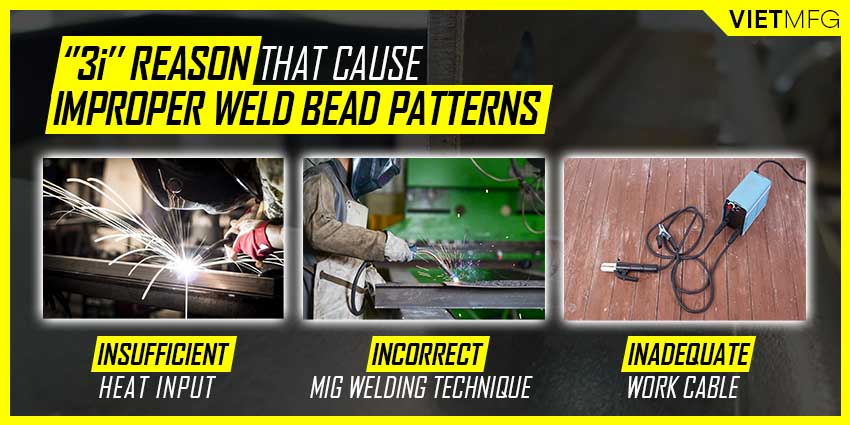
There are 3 reasons that result in improper weld bead patterns. We call it ‘’3i” reasons:
- Insufficient Heat Input.
- Incorrect MIG Welding Techniques.
- Inadequate Work Cable.
Insufficient Heat Input
If there is a lack of heat input, you cannot achieve a good penetration profile into the weld puddle.
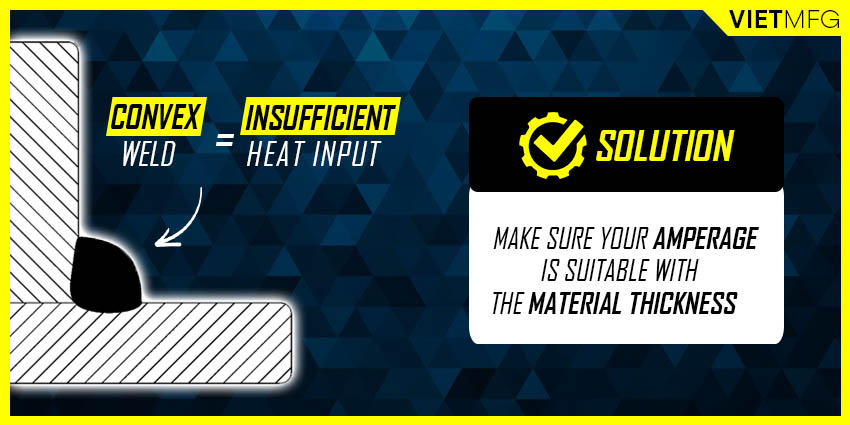
Simply by looking at your bead, if it is too convex, this suggests the heat input is not enough (or you are MIG welding too cold).
To fix this problem, check again your amperage settings to make sure it is suitable with the material thickness.
Normally, the amperage is set indirectly via wire feed speed parameter on the MIG welder.
Follow the instruction on your MIG welder to have a proper setting.
Incorrect MIG Welding Techniques applied
If you apply incorrect MIG welding techniques, your bead profile will become neither convex or concave.
This creates a bad weld.
To achieve the desired bead shape in MIG Welding, make sure to use push technique with a travel angle of 5-10 degrees.
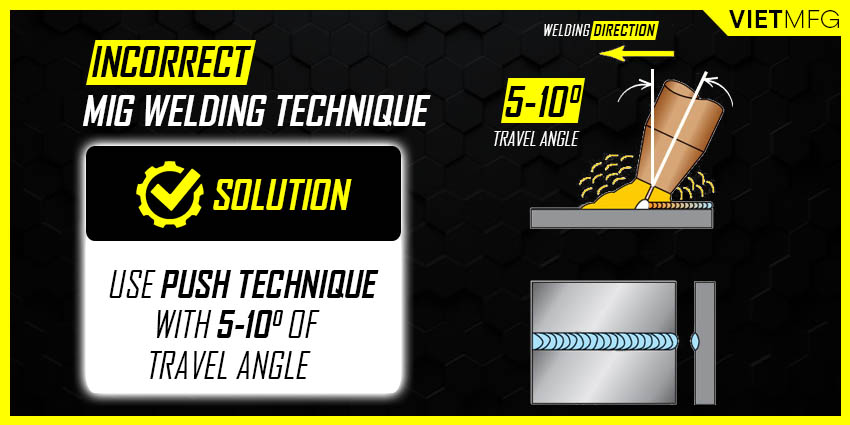
Also, check for your amperage setting and wire feed speed.
- If your bead has undercut, this suggests your current settings are too high for the base metal.
- If your bead is tall and round, this suggests you have applied an incorrect travel speed.
Inadequate Work Cable
Inadequate Work Cable can also lead to a bad MIG weld.
Thus, unless you purchase a new welder, make sure to check for the cables to see if they are intact.
3. Lack of Fusion
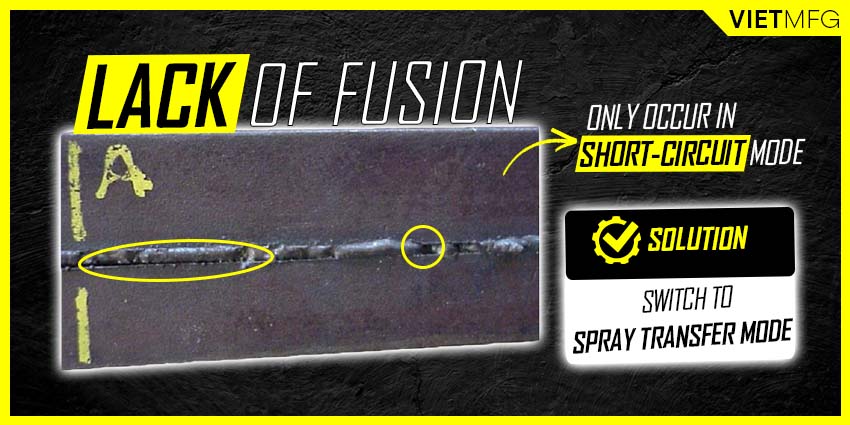
Lack of fusion only occurs when you decide to go for short-circuit MIG welding.
If you forget what short-circuit MIG welding is, check out our Complete Tutorial on Metal Transfer Modes of MIG Welding.
The insufficient current level can cause the weld pool to be fused within the base plate, but not fused with the filler metal.
However, to detect this MIG welding issue, some kind of bend testings or ultrasonic testings are required.
This defect is very difficult to detect, but is very easy to prevent.
Just simply switch your mode of metal transfer to spray application, and that’s it!
4. Faulty Wire Delivery
When you have done MIG Welding for some time and acquire a proper amount of experience, you will develop a feeling of when the welder is delivering the wire incorrectly.
This can be caused by improper MIG wire setup.
For example, there is not enough tension on the wire, or the wire is contaminated, or you have installed the wrong type of drive rolls).
Thus, to prevent faulty wire delivery, make sure your wire is clean.
Also, choose the correct drive rolls in terms of size and type to install on the drive roll assembly.
Tips and Tricks on how to achieve a good-looking MIG weld
Achieving a good-looking MIG weld is not too difficult, if you practice and follow these following tips on a regular basis.
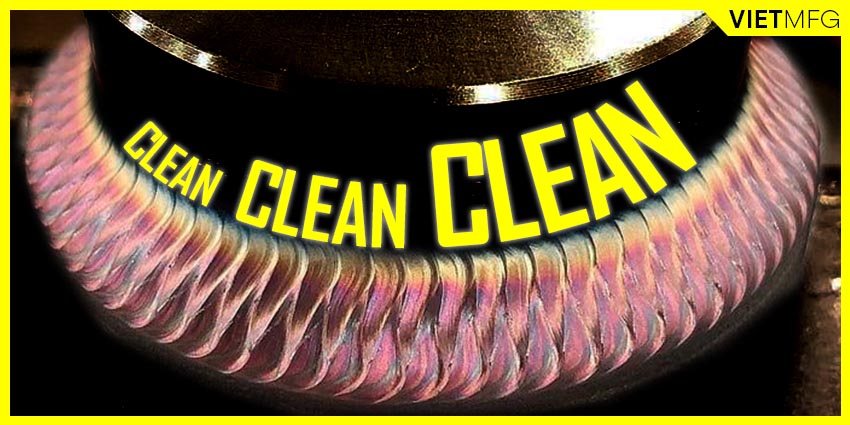
1. Practice the 3Cs principle – CLEAN, CLEAN, and CLEAN
Cleaning your workpiece, especially the surface, is the most important thing you can do to prevent tons of issues from happening.
As we mentioned earlier, a surface free of oil and contaminant can greatly prevent porosity – one of the most common weld defects – from occurring.
Thus, remember to grind your workpiece and remove any paint, rust and dirt remaining on the surface.
2. Check for all the connections
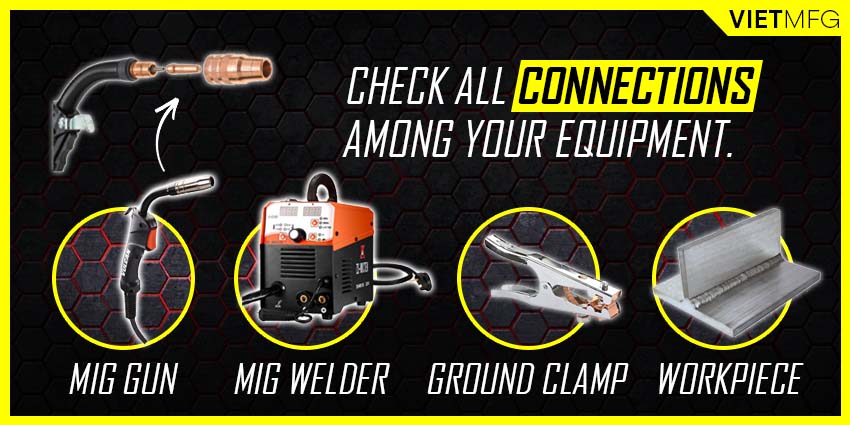
Throughout your MIG welding setup, there are a lot of connections among the equipment, including those between:
- Power source and MIG gun.
- Gun’s contact tip, MIG nozzle, diffuser and wire electrode.
- Ground clamp and the workpiece…
If just a single of those connections are not tight and secure, it can lead to resistance in your electrical current.
If there is too much resistance, the electric will find other ways with less resistance to travel to.
Thus, your MIG welding project will not receive enough electrical power, and eventually not enough heat to melt the electrode wire and perform a proper MIG welding process.
So, it is always recommended to check for all those connections among your MIG welding equipment.
Make sure they are tight and secure.
3. Listen to your Welds
Listening to the sound of your welds can greatly help you identify if there is any problem arising.
You will develop this skill as you gain more experience with this welding stuff.
For example, if you hear a steady hiss, this means your voltage is too high.
Or, if you pick up some crackling sounds, this suggests your amperage setting is too high.
4. Make sure to match drive rolls, gun liner and contact tip to the wire size
You will be surprised to know that this is commonly missed by many MIG operators.
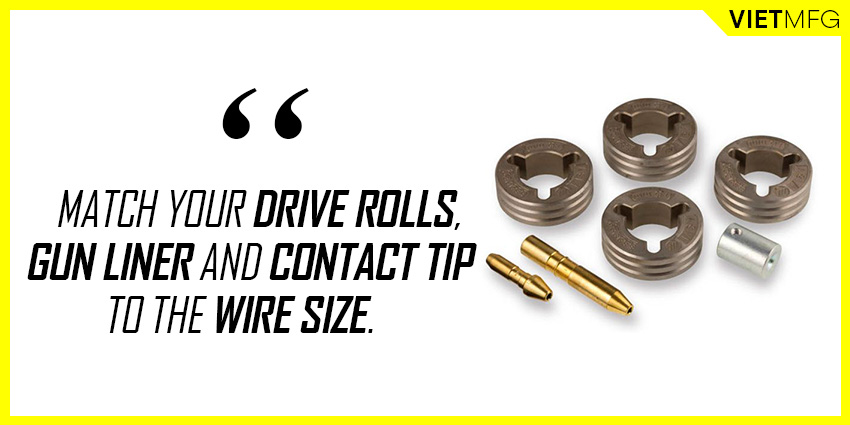
If you try to run a 0.0.30 inch diameter wire through 0.035 inch rolls, you will have to change your wire feed speed constantly, as the grooves on the drive rolls are too large.
The same principle applies for gun liners and contact tips.
Thus, make sure to match those figures with your wire diameter.
5. Tips for welding out of position
Welding out of position means you weld vertically (both up and down versions), horizontally or overhead.
When performing MIG welding with those positions, try to keep the weld puddle as small as possible for optimal bead control.
Moreover, use the smallest wire diameter that you can find.
6. Replace contact tips regularly
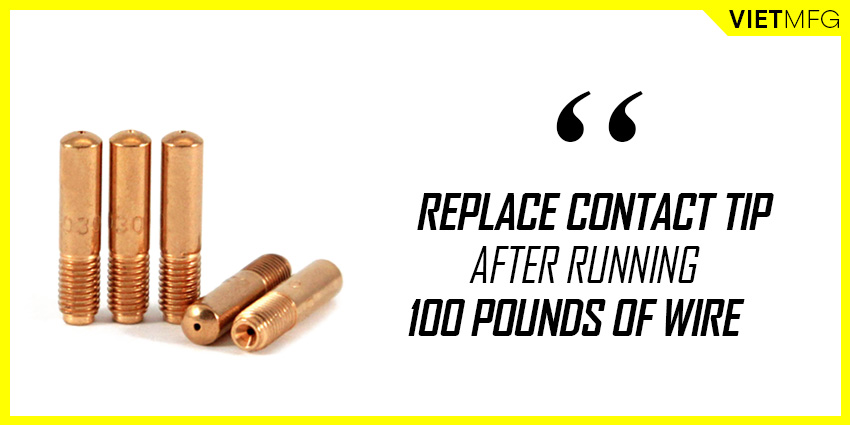
As the price of contact tips is very affordable, stock a few of them in your workshop.
Remember to replace the contact tip regularly, as old ones can lead to erratic arcs.
Also, if you find your contact tip touching the molten weld puddle, replace it right away!
A small tip is to assure high quality MIG welding is to replace the contact tip after running 100 pounds of wire.
7. Read your MIG Weld Beads
Trust me!
Reading your beads can help you learn many interesting things about your MIG welding quality.
For example, a convex-shaped bead shows that your settings are too cold (not enough heat input) to penetrate the base metal.
Or if you see your bead is concave, this means the opposite – too much heat input.
Conclusion
We hope this article has shown you how to detect a Good MIG Weld from a Bad MIG Weld, as well as some common MIG welding defects that you could experience.
In the end, it all comes down to your practice and correct settings for the projects.
Reference
- Welding Principles and Practices (5th Edition) – McGraw Hill Education. Edward R.Bohnart. [2017]
- Gas Metal Arc Welding: Product and Procedure Selection – Lincoln Electric. [2014]
- Porosity in MIG Welding – How Should a Good MIG Weld Really Look Like. Welding Mania. Retrieved September 30th 2020.
- 11 tips to sharpen your MIG welding skills. Successful Farming. Retrieved September 30th 2020.
- Good Weld Bead vs Bad Weld Bead – Welding 101. Youtube (Metalmangeartv channel). Retrieved September 30th 2020.


